Hi my stamping friends!
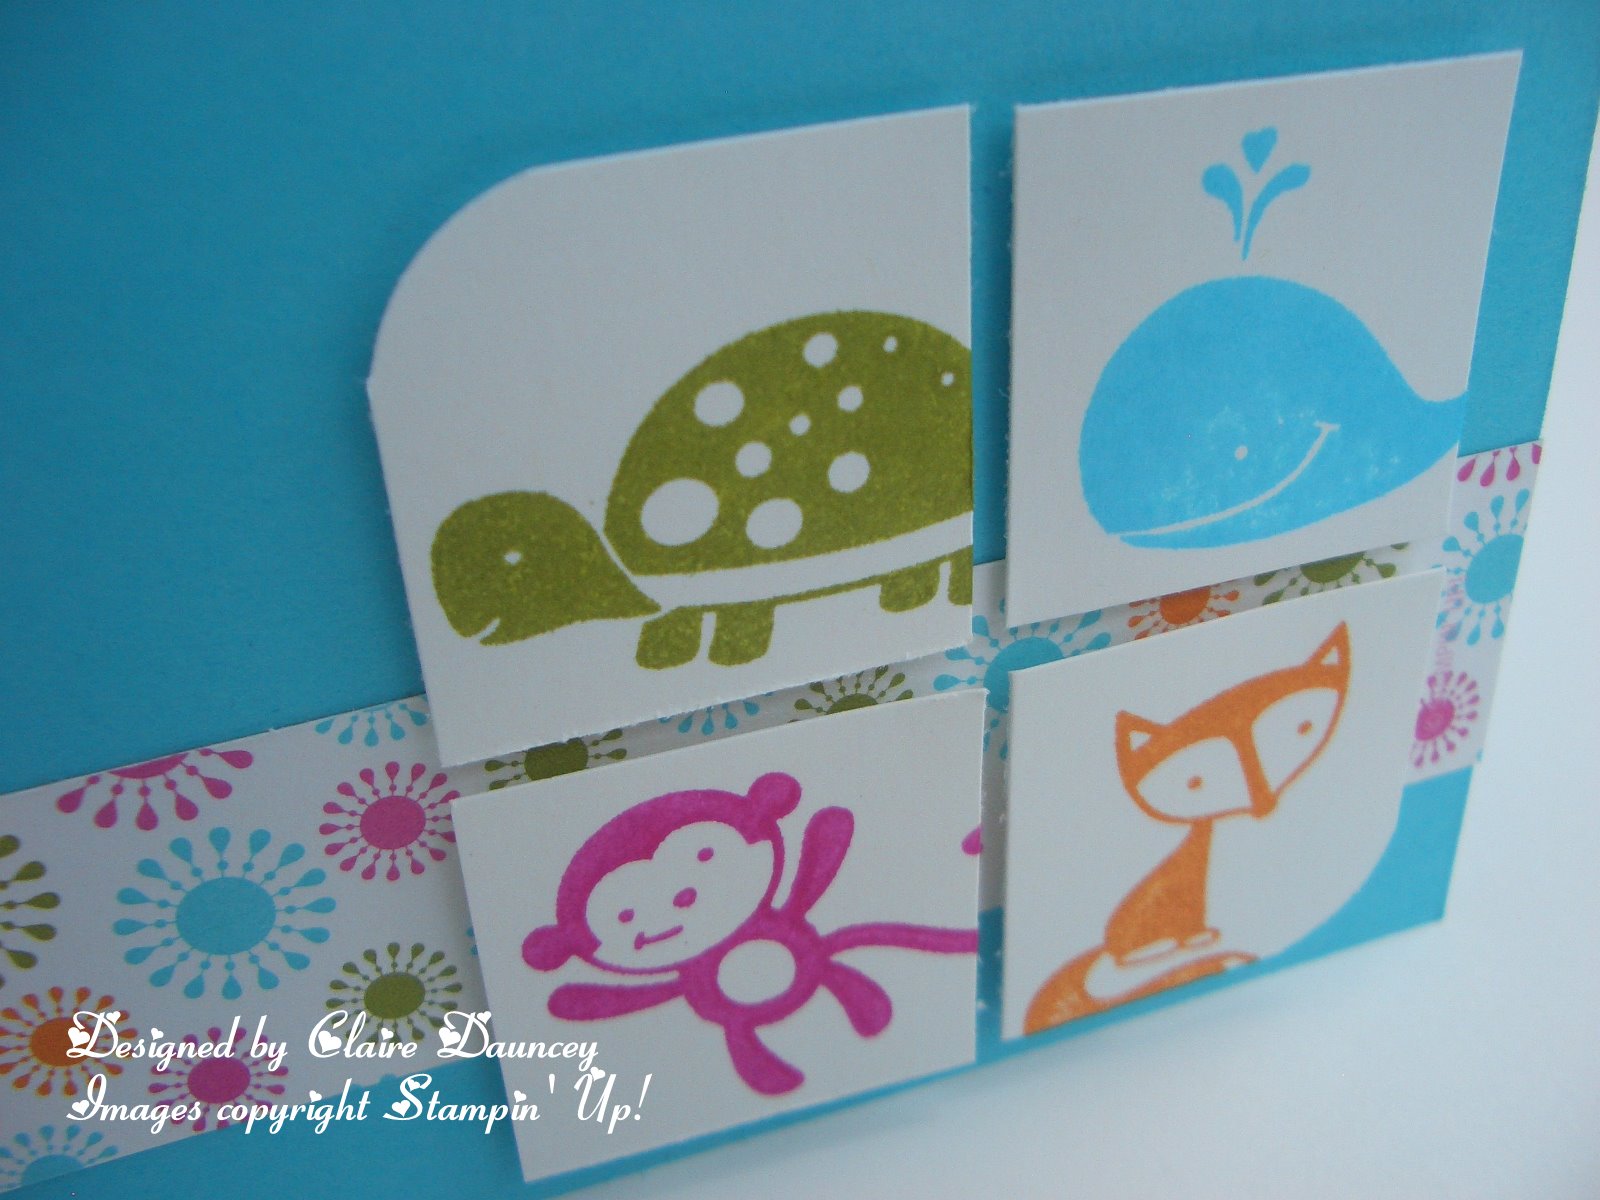
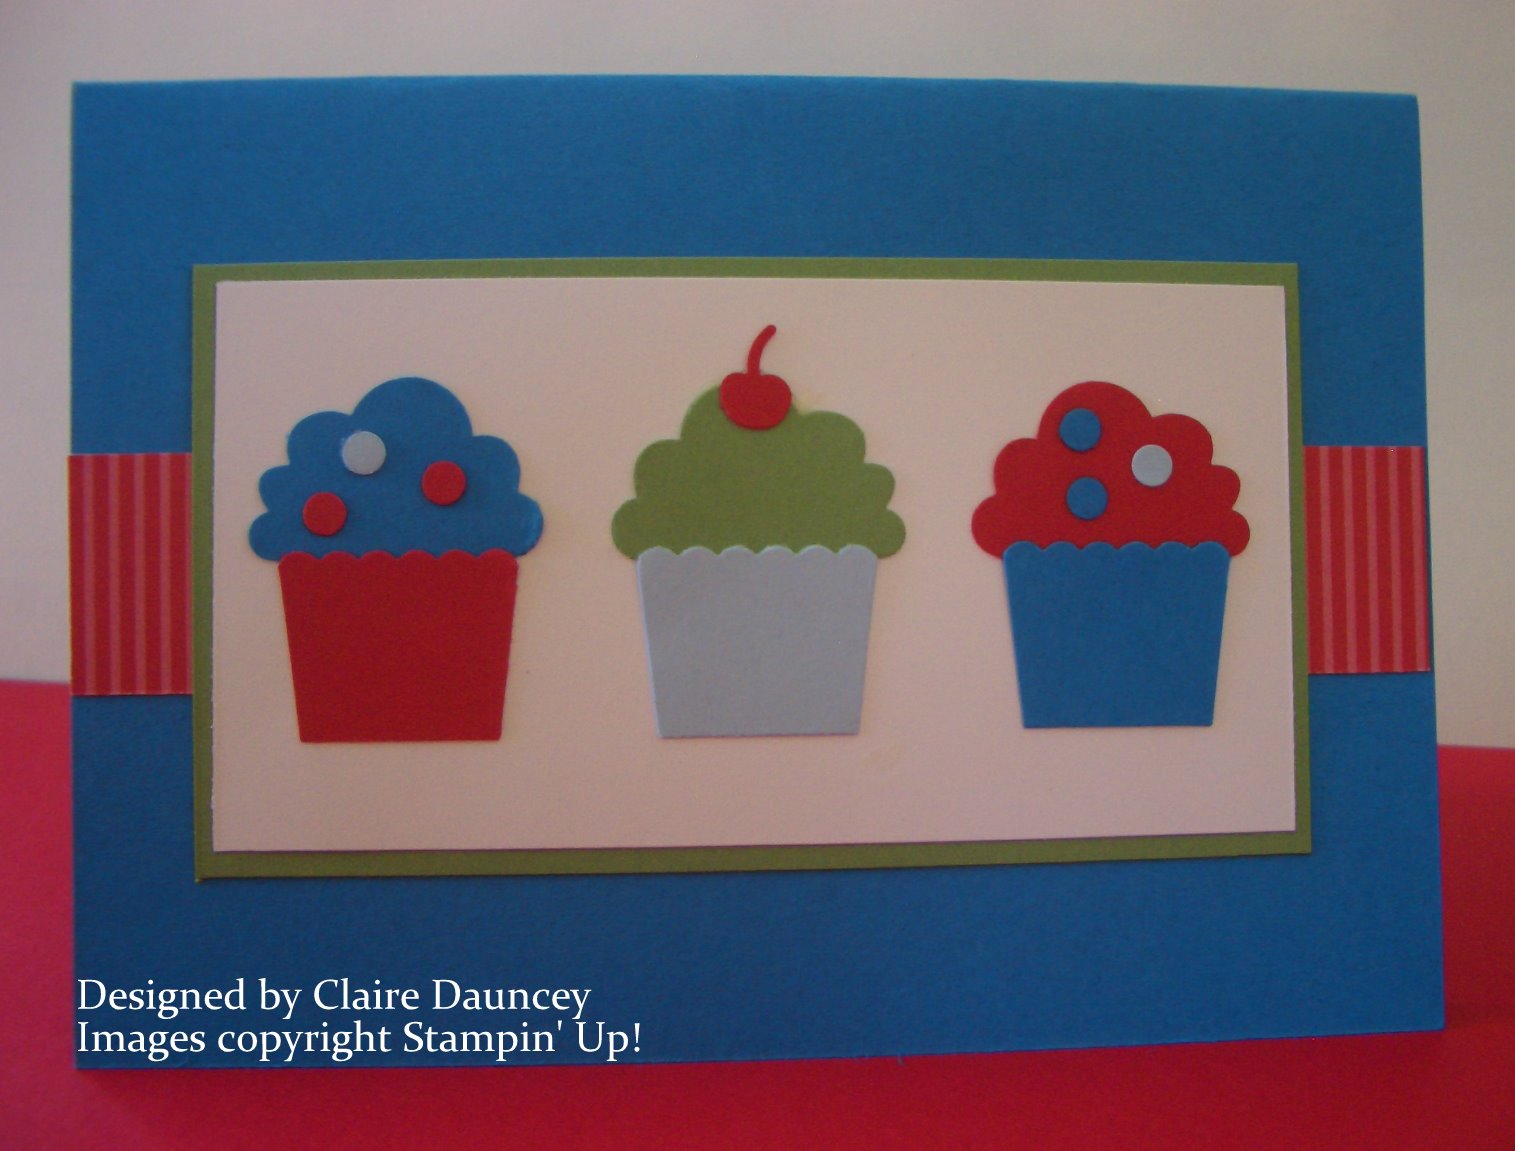
In keeping with the masculine theme of late, I thought I would share these boys birthday cards with you all. I have used the gorgeous Dinoroar stamp set from Stampin' up! and a really simple layout and a little colouring using the blender pens.
I love quick and simple kids cards because they are not always kept but even if they are then something like this still looks special as it is handmade :)
The scoring under the dinosaurs is a simple yet effective way to add a little extra effect to an otherwise simple card.


Happy Stamping!
Love, Claire
Love, Claire


 THANKYOU also to Tennille from